
Create Enchanting Fairy Garden Accessories
This post follows our content production and research editorial guidelines.

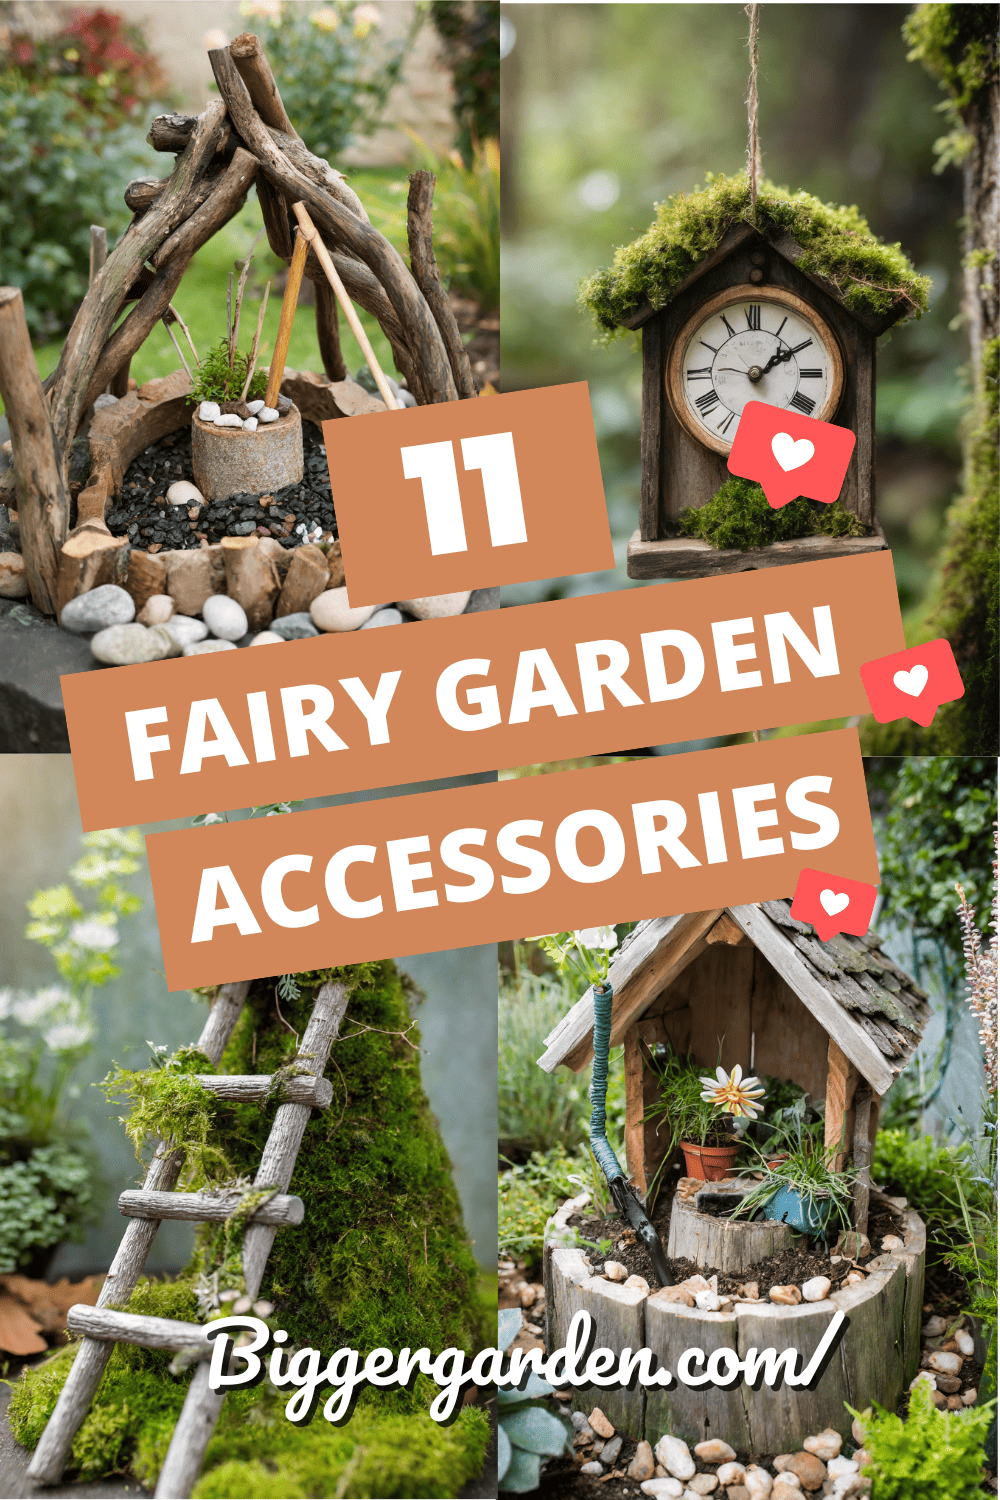
Welcome to the magical world of fairy garden accessories! Whether you’re an experienced gardener or just starting, these whimsical DIY projects will add a touch of enchantment to your fairy garden. Imagine tiny fairies resting, playing, and making wishes in a serene, nature-inspired haven. Let’s dive into these delightful tutorials!
1. Enchanted Fairy Bed
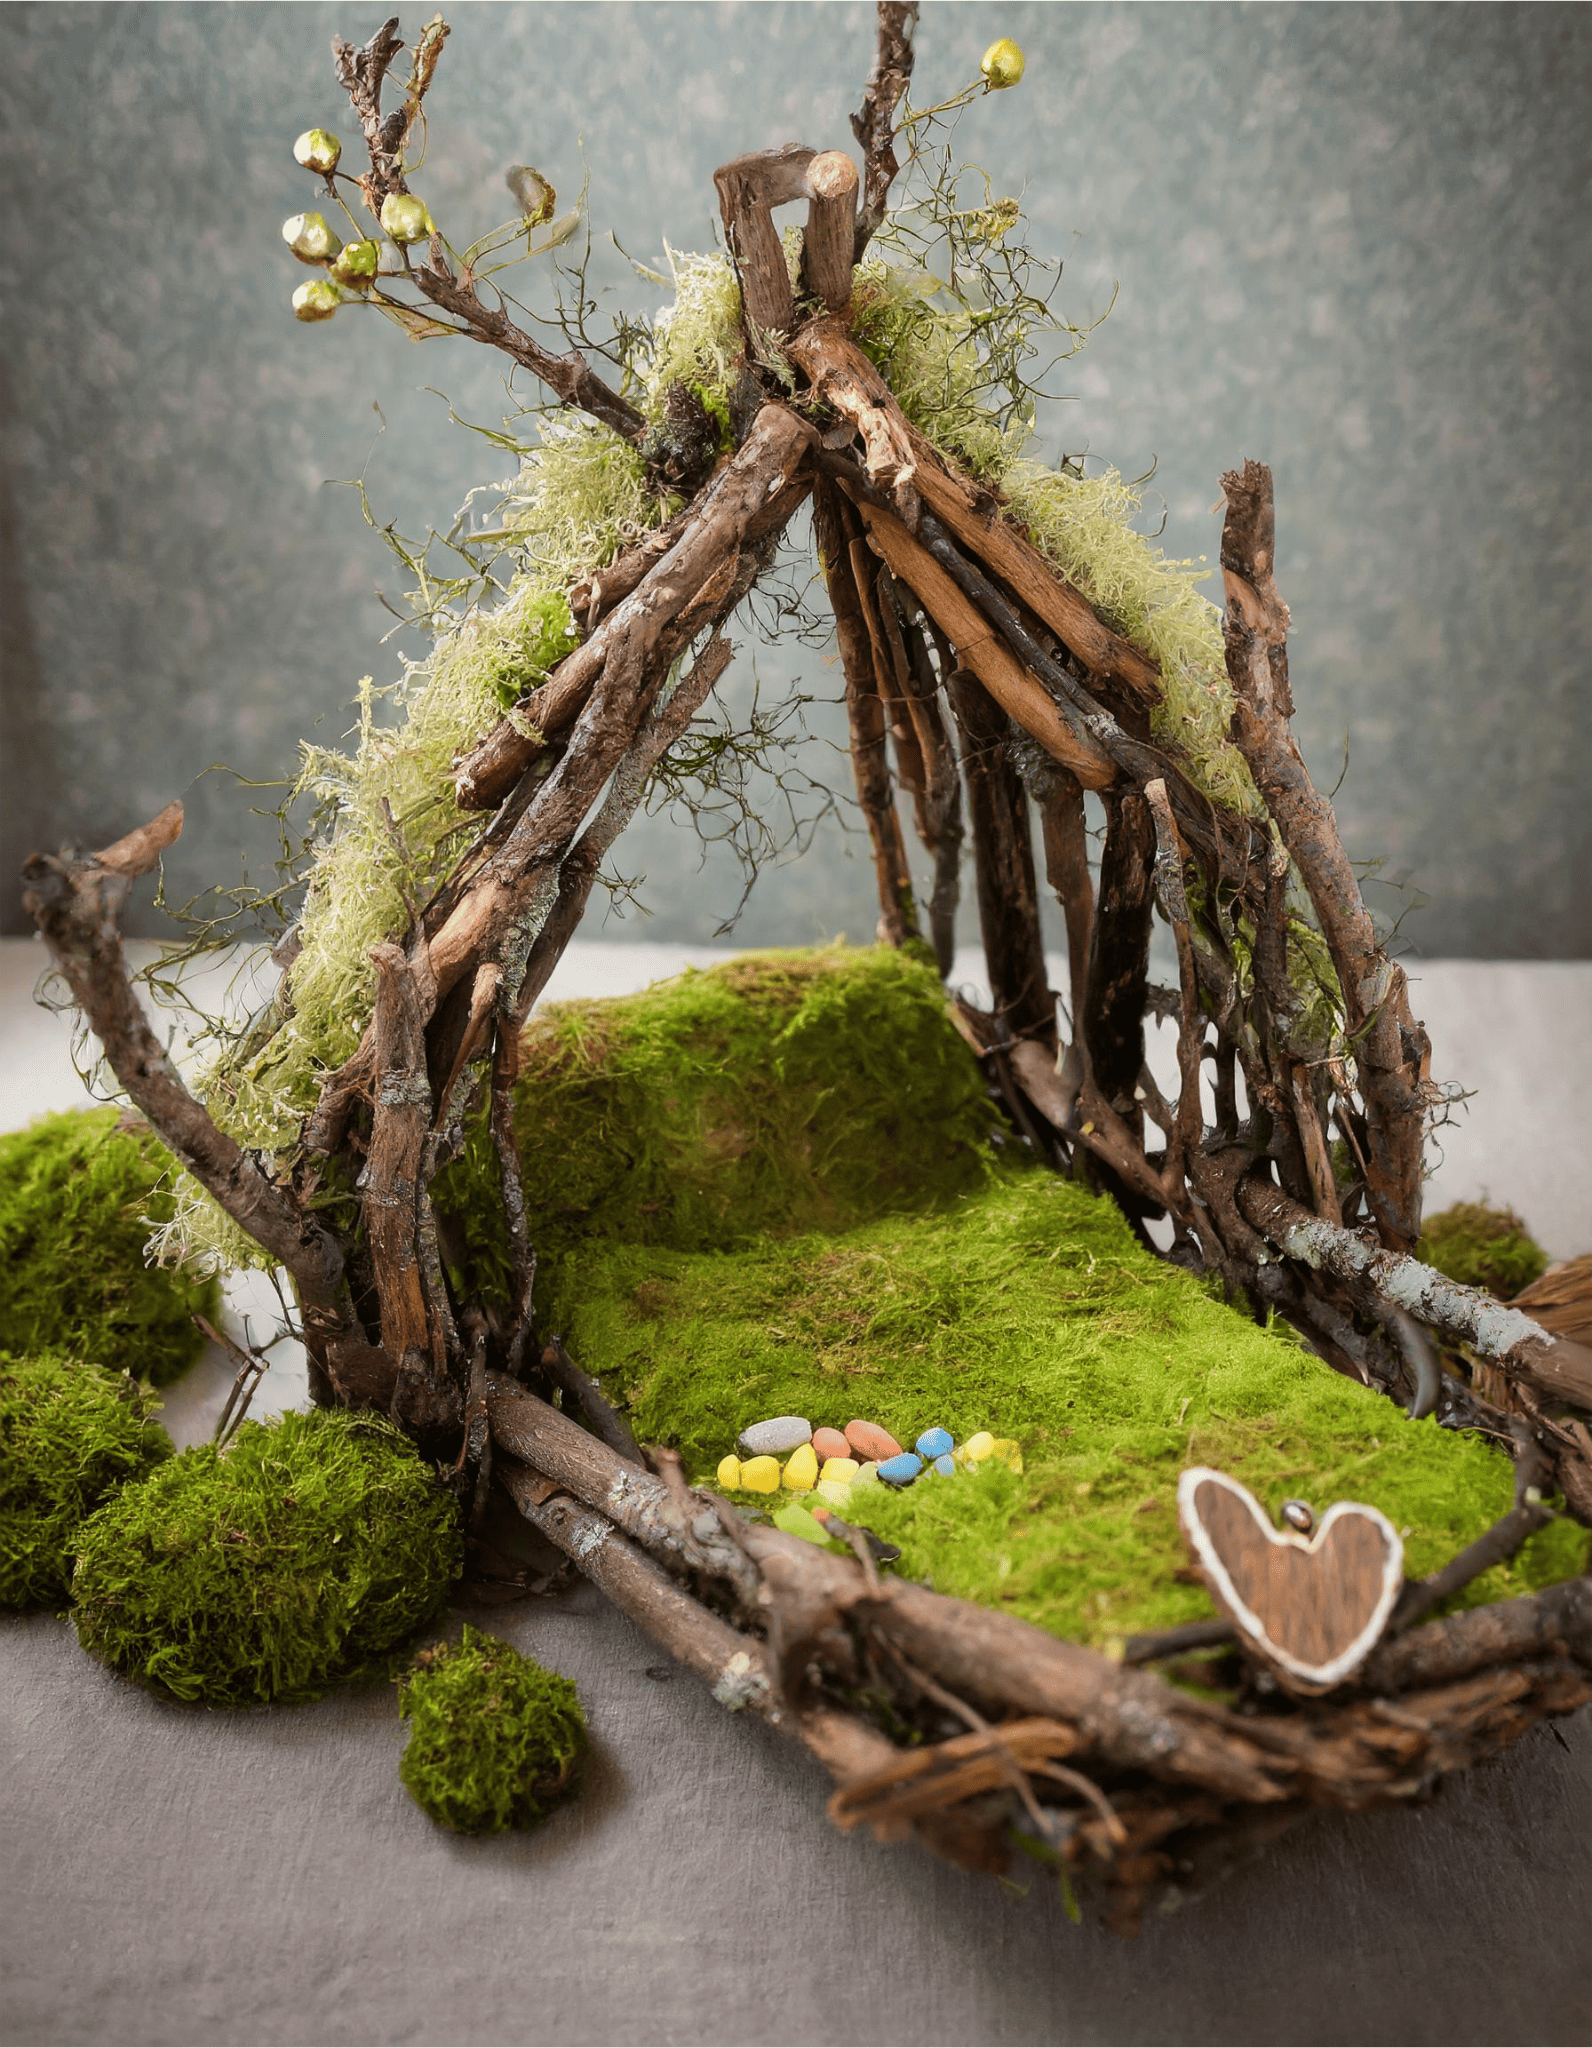
Create a Cozy Fairy Retreat
Enhance the serenity of your fairy garden with an enchanting fairy bed made from natural elements. Imagine fairies resting after a long day, surrounded by the beauty of nature.
DIY Tutorial:
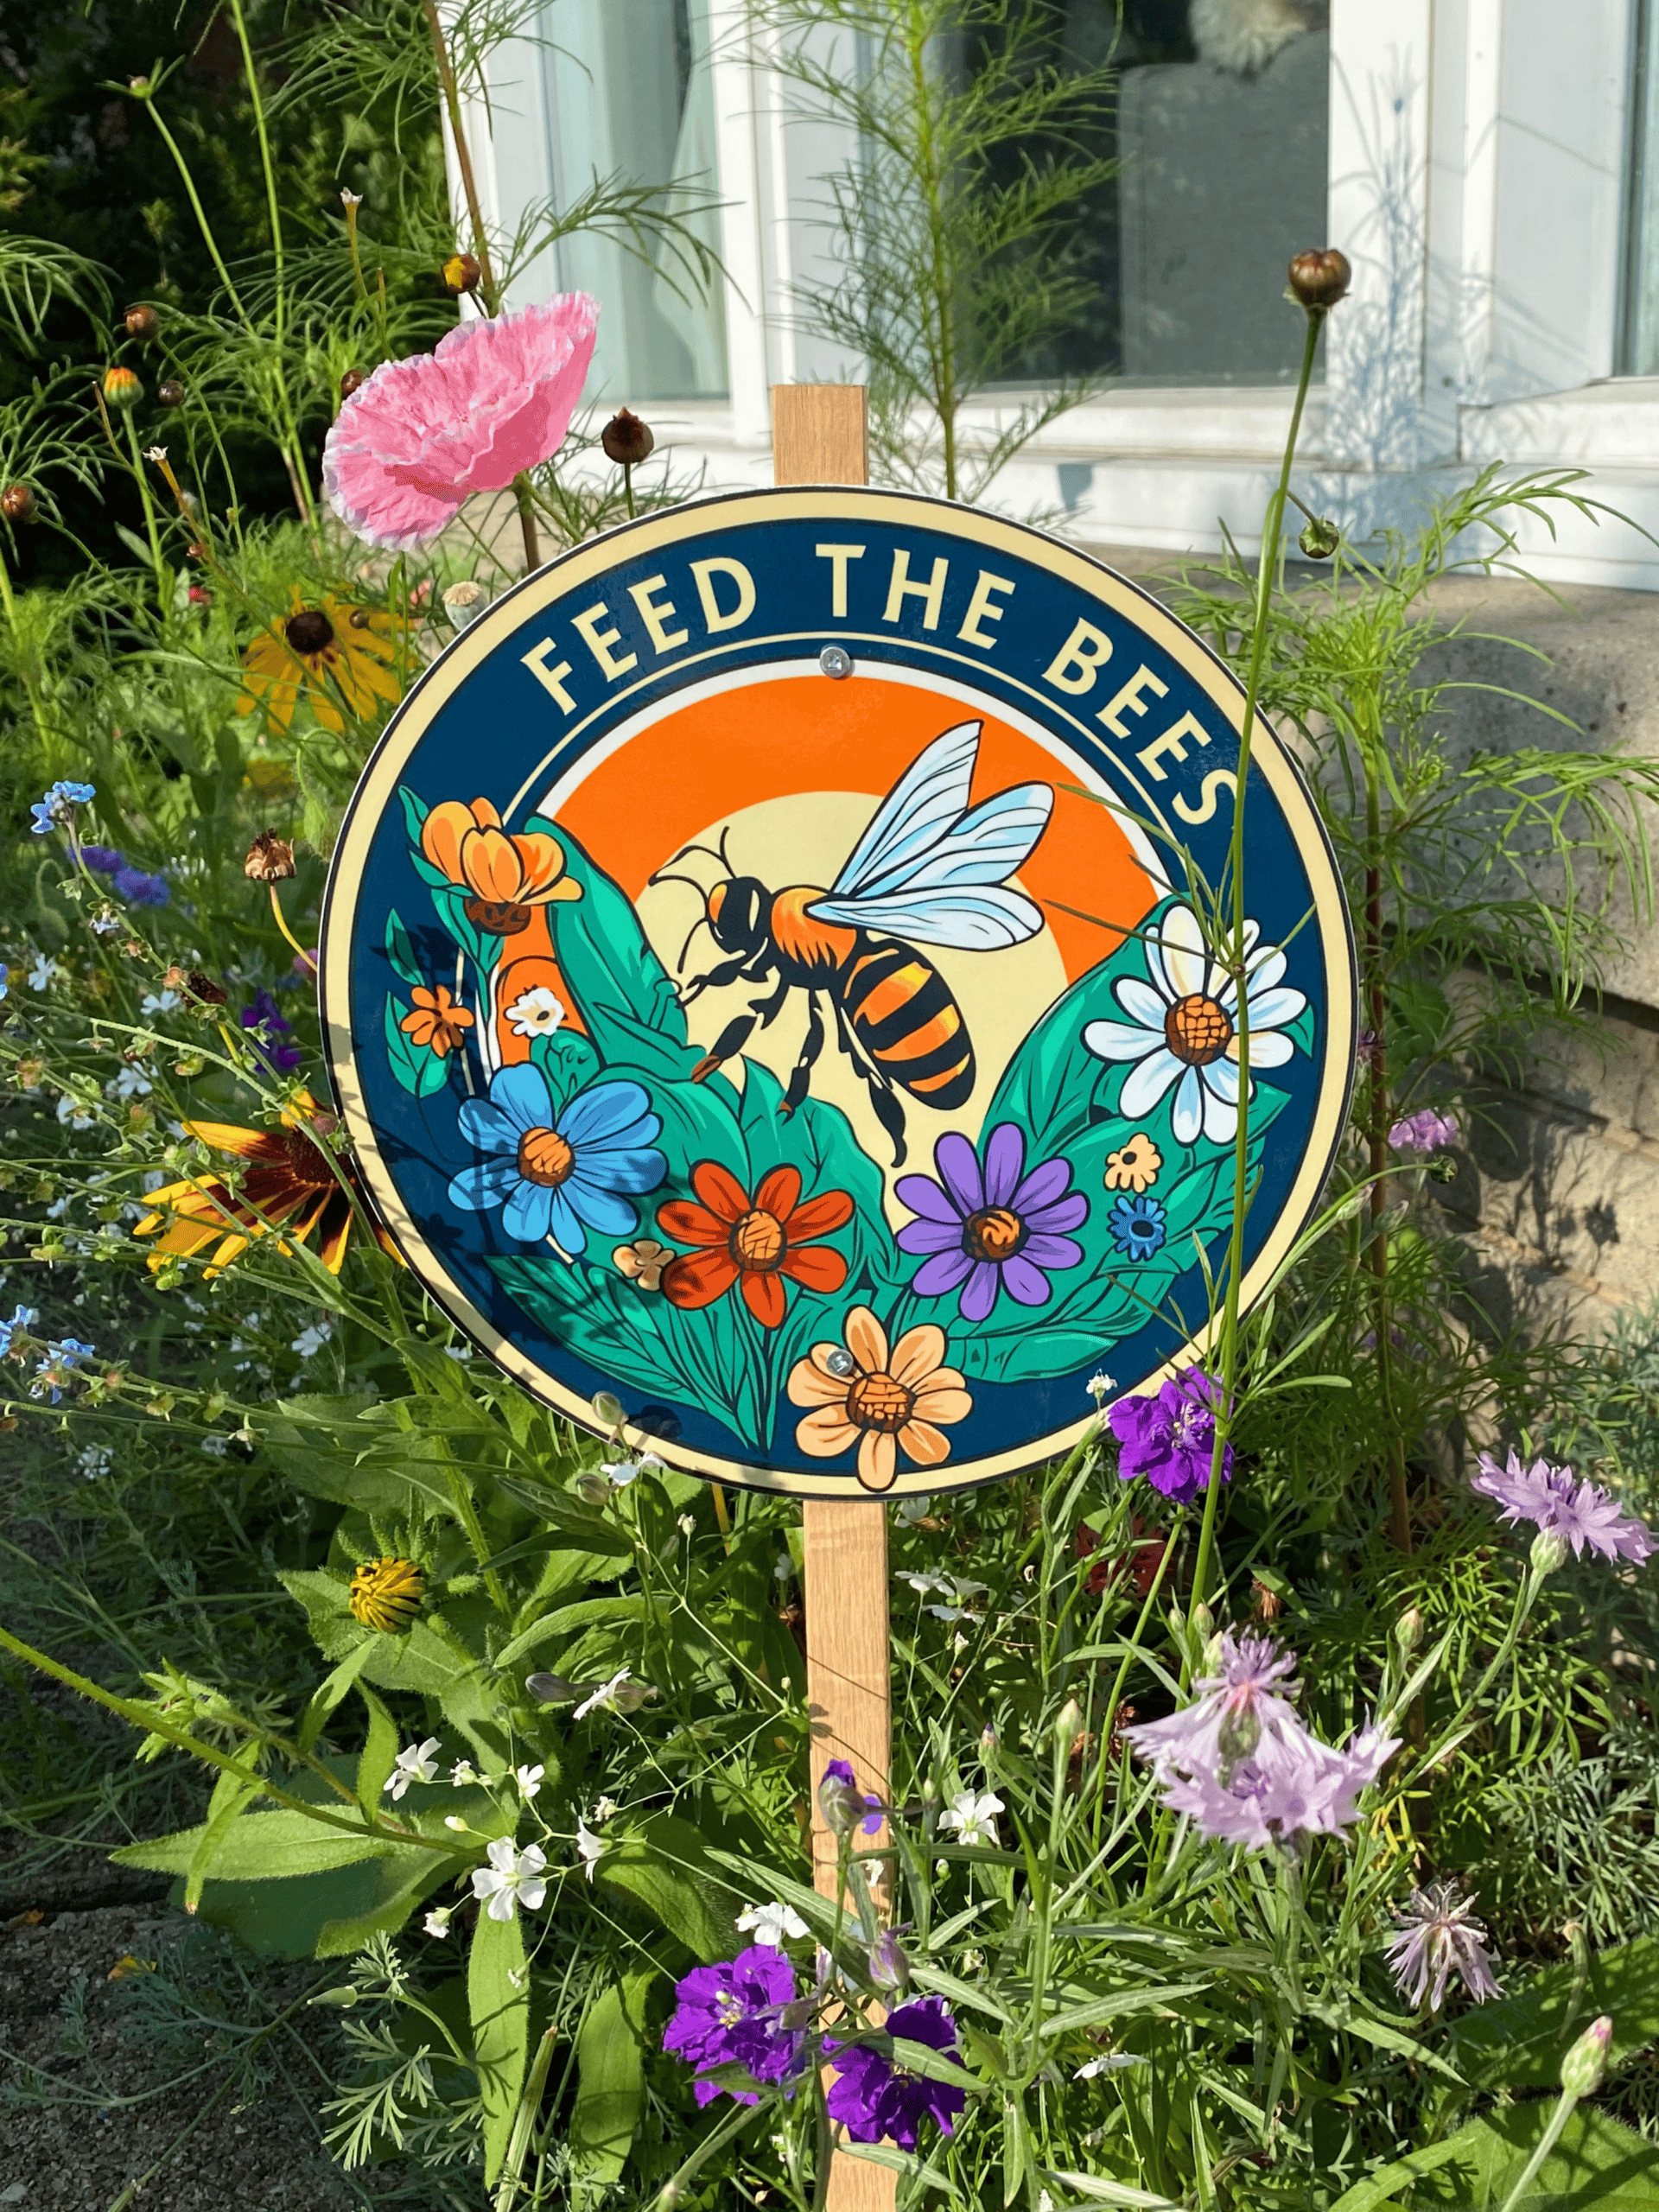
“Feed the Bees” Garden Sign
Give your wildflower patch a pop of color and let your neighbors know there’s purpose in your plants.
Materials Needed:
- Twigs and branches
- Moss
- Hot glue gun
- Small pebbles
- A small piece of fabric or felt
Steps:
- Gather twigs and small branches of varying sizes.
- Form a rectangular frame using the twigs, securing them with hot glue.
- Create the headboard and footboard by adding vertical twigs.
- Cover the base with moss, securing it with hot glue.
- Add a tiny piece of fabric or felt as a blanket.
- Decorate the bed with small pebbles and additional moss.
2. Rustic Woodland Bench
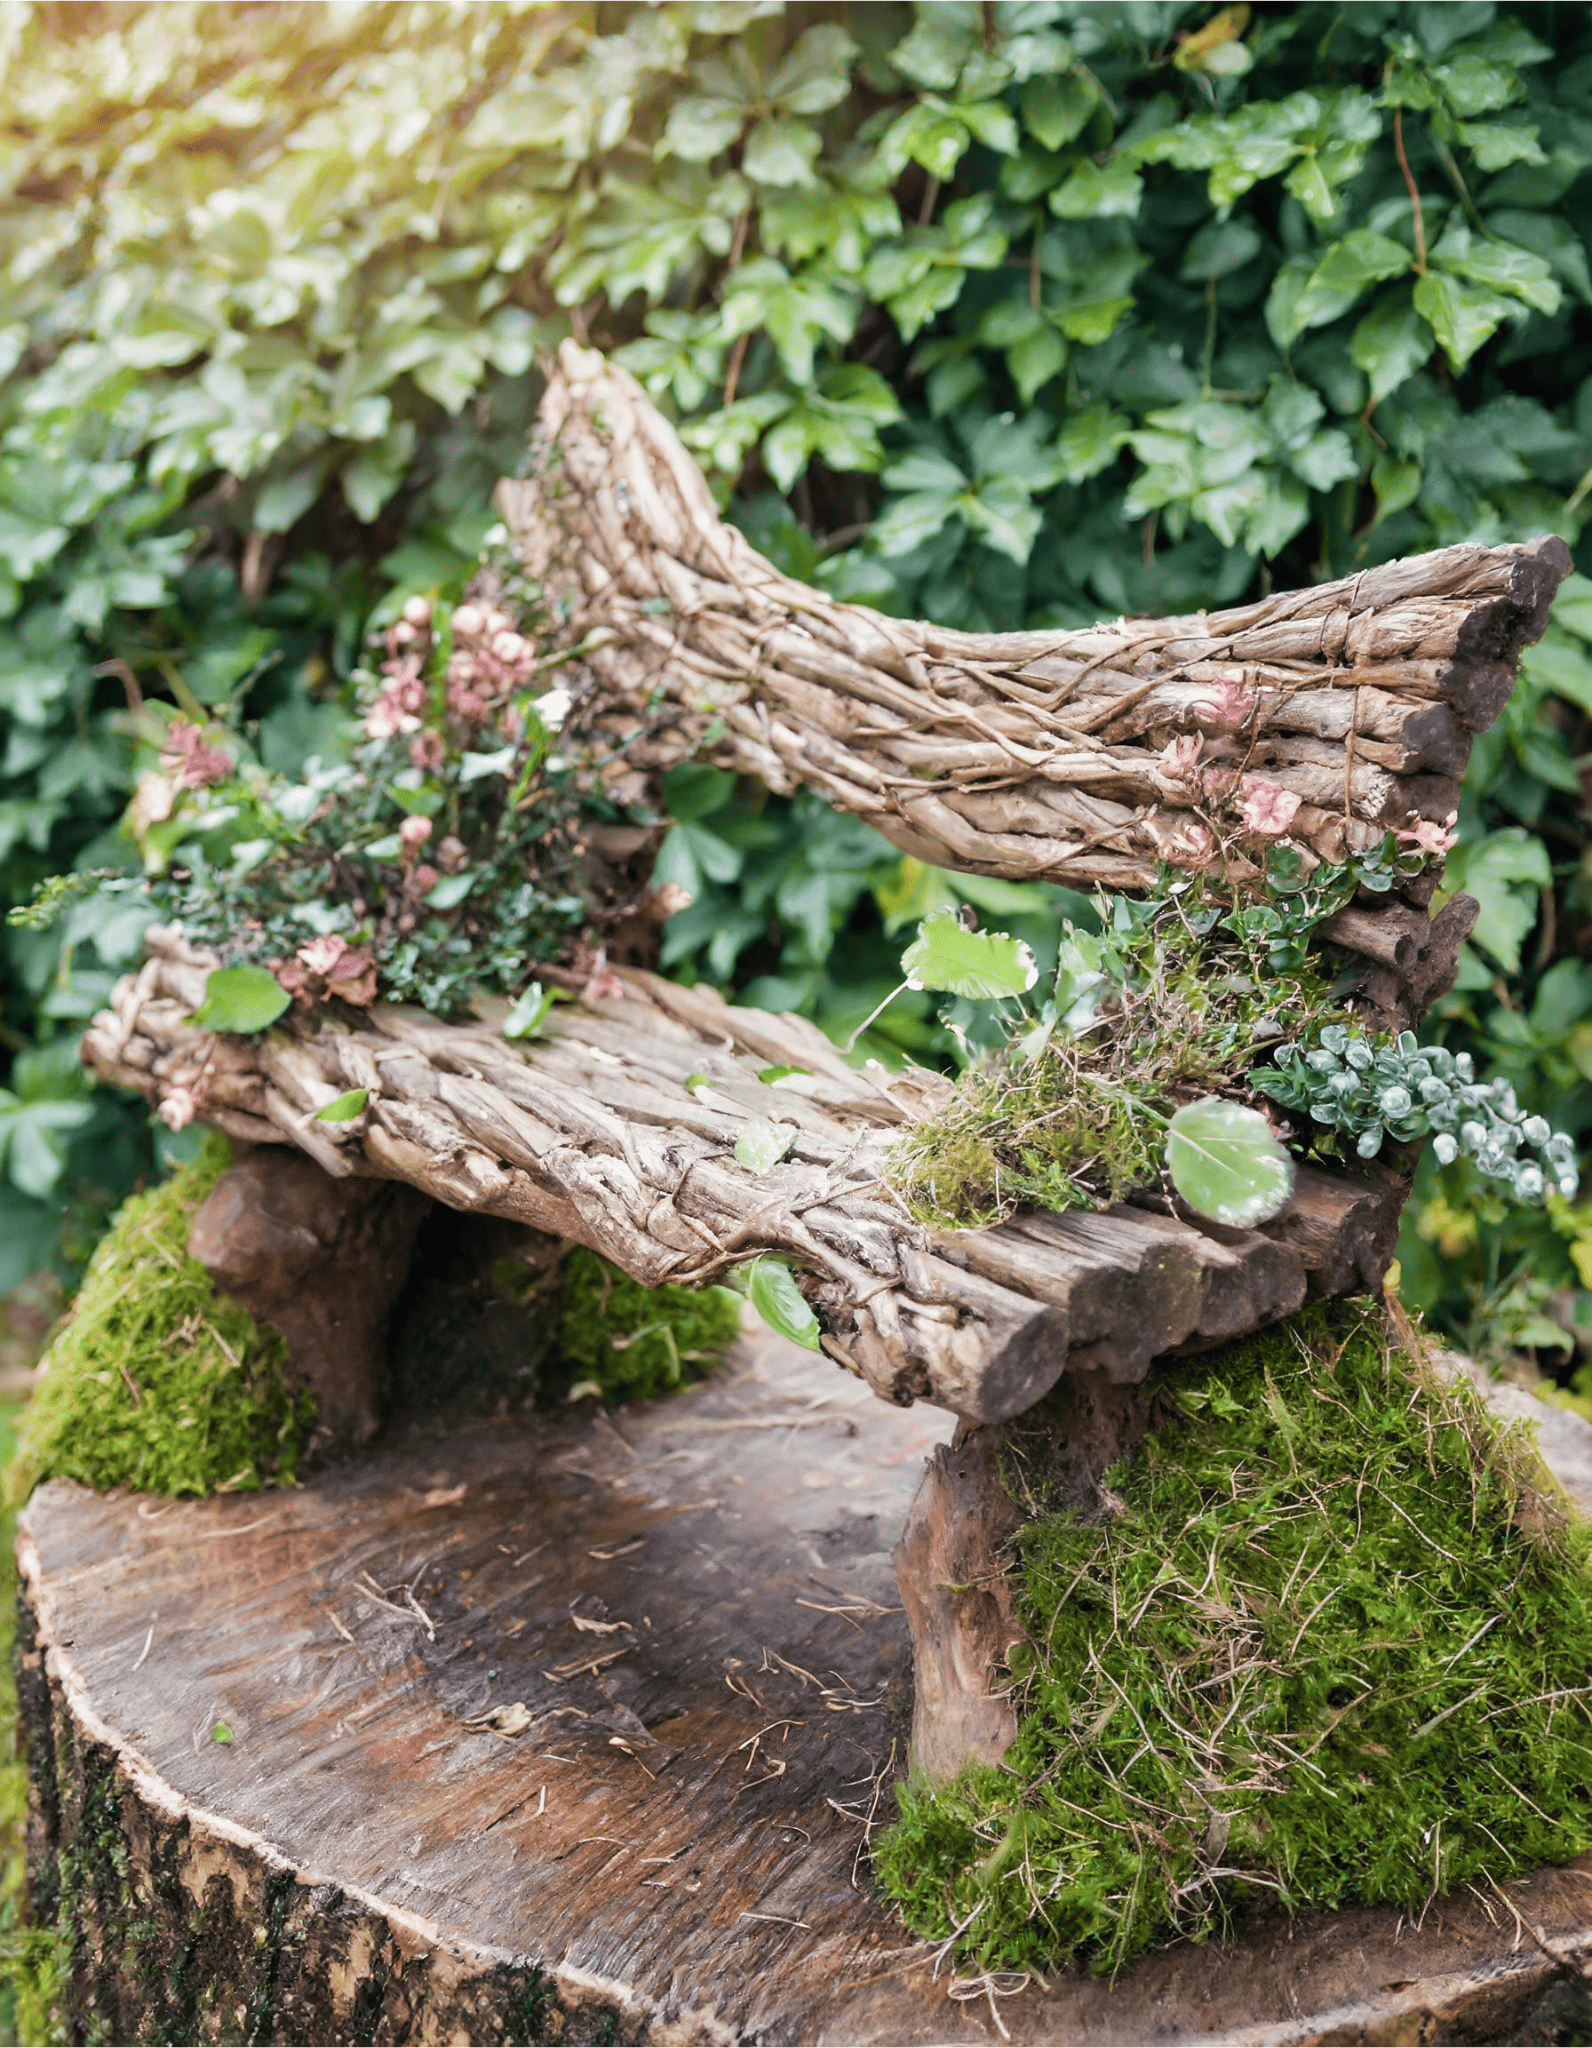
Craft a Fairy Seating Area
Invite fairies to relax and enjoy the view from a rustic woodland bench. This piece adds a whimsical touch to your fairy garden, perfect for a fairy gathering spot.
DIY Tutorial:
Materials Needed:
- Small twigs
- Larger branches for legs
- Moss
- Hot glue gun
- Small flowers or greenery
Steps:
- Find a flat piece of wood or a sturdy branch for the seat.
- Attach smaller twigs to the seat to create the backrest.
- Use larger branches to form the legs of the bench, securing them with hot glue.
- Cover parts of the bench with moss for a natural look.
- Add small flowers or greenery for decoration.
3. Fairy Bird Bath
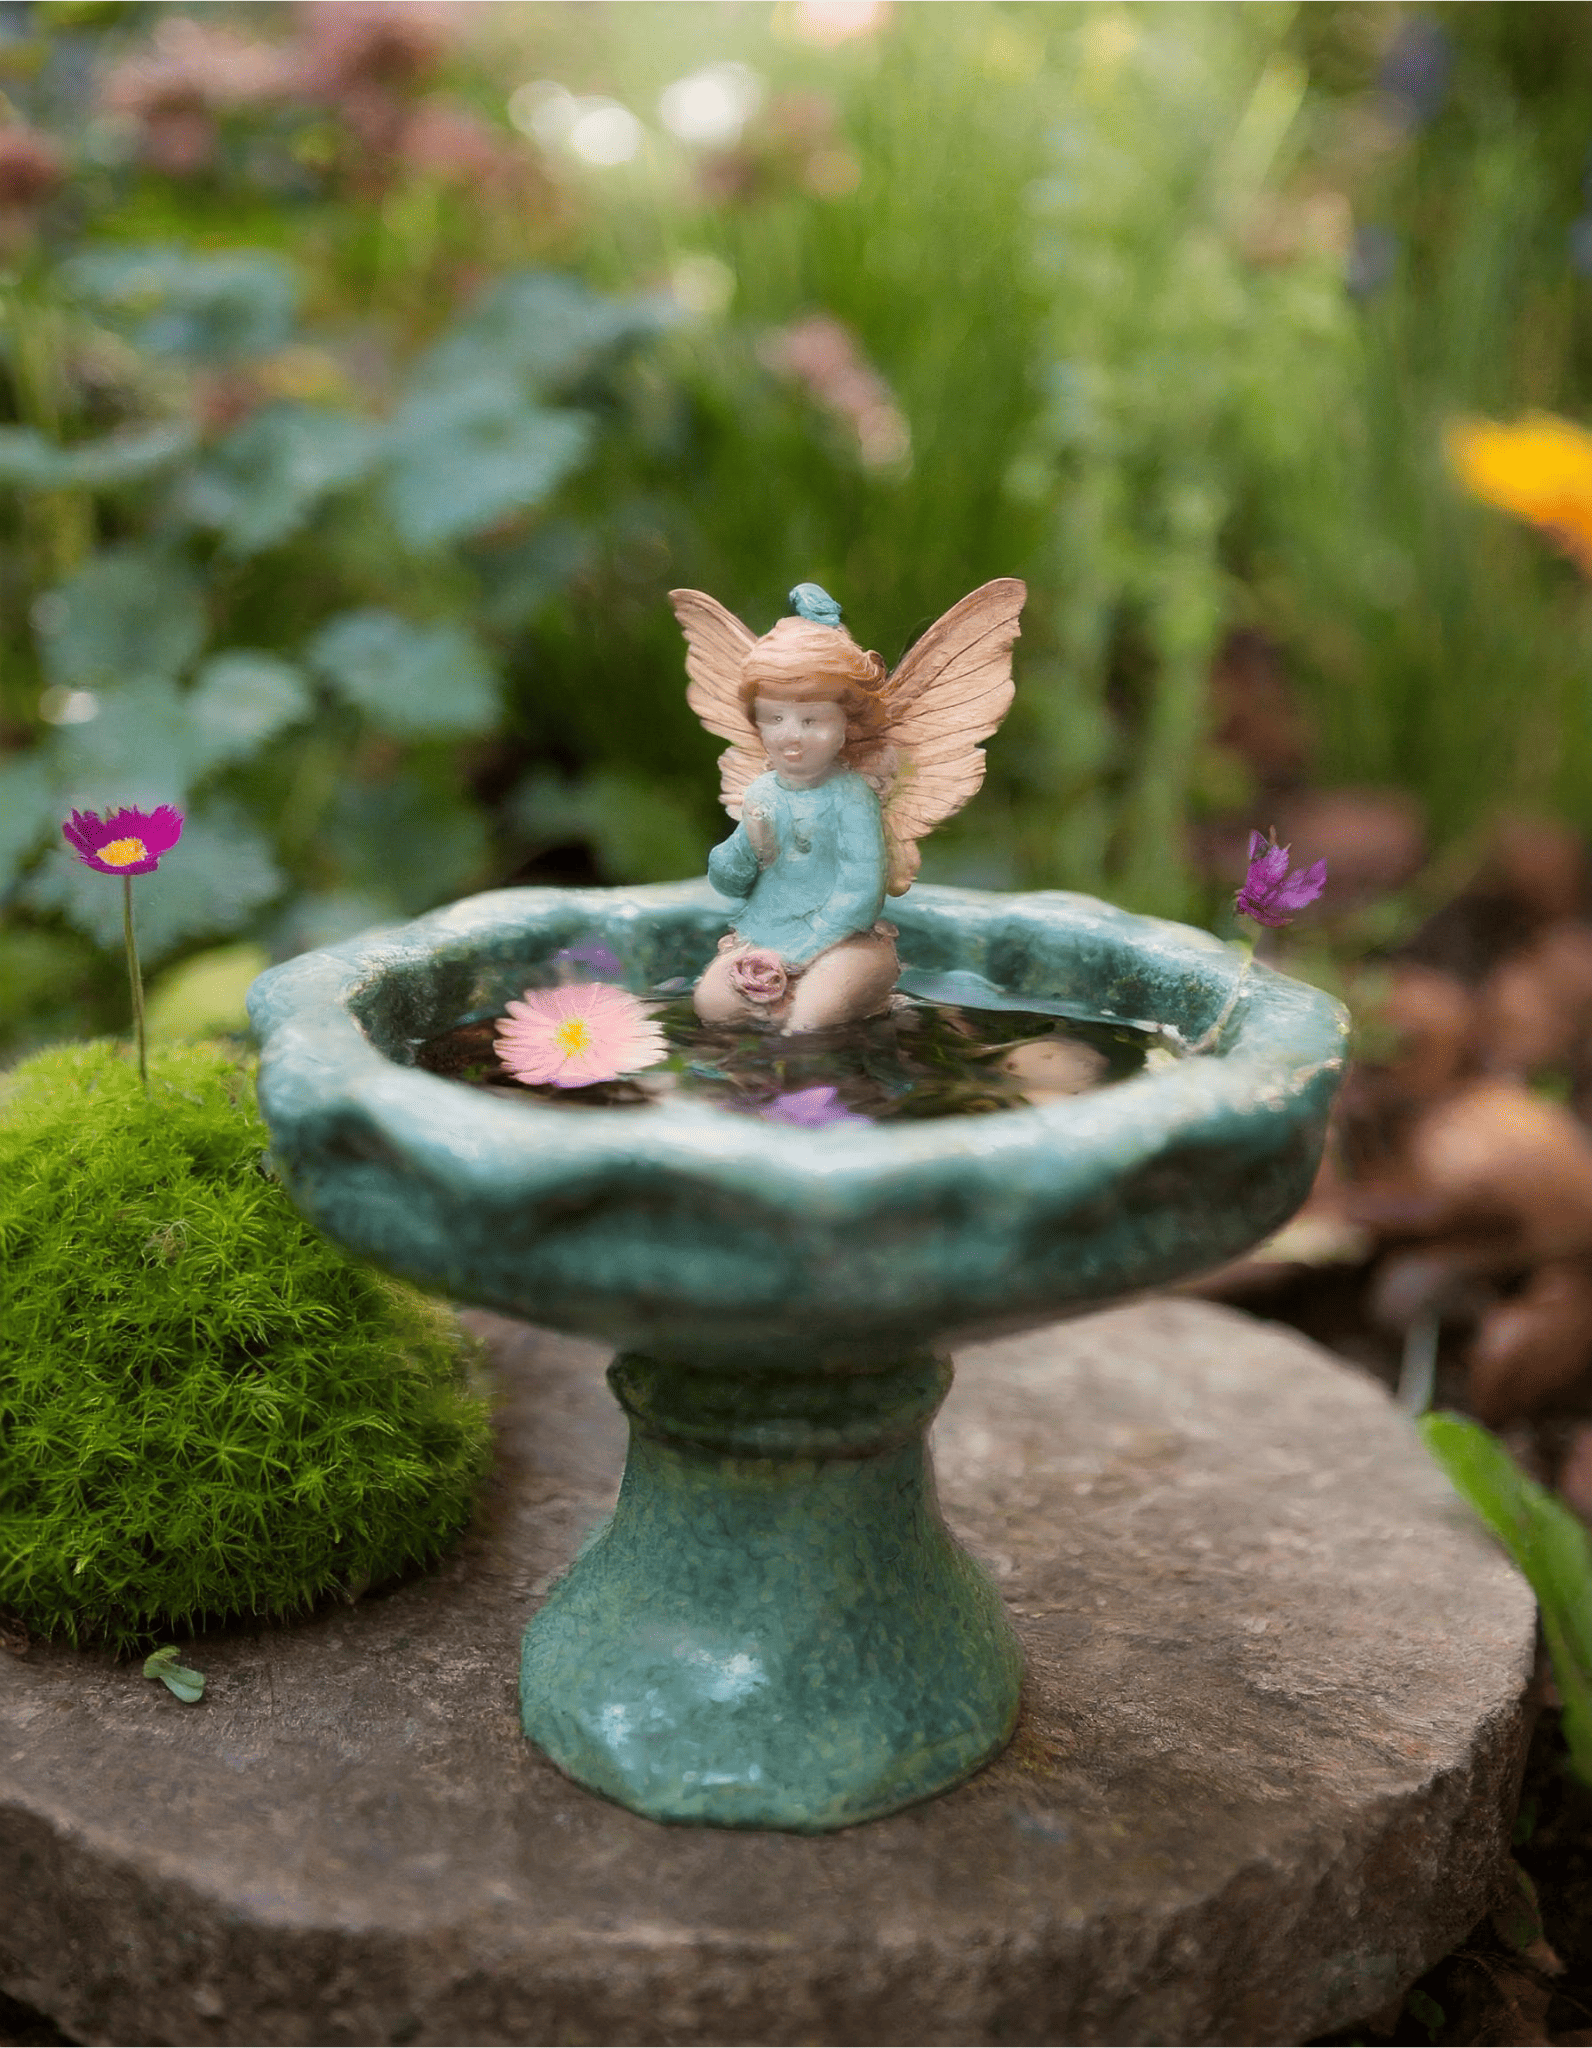
Create a Refreshing Fairy Oasis
Enhance your fairy garden with a delightful bird bath, a perfect spot for fairies to freshen up. This charming accessory adds a touch of magic to any garden scene.
DIY Tutorial:
Materials Needed:
- Small dish or bowl
- Pebbles
- Tiny figurine (optional)
- Waterproof adhesive
Steps:
- Select a small dish or bowl that fits your garden’s scale.
- Arrange pebbles in the dish to create a natural look.
- If desired, place a tiny fairy figurine in the bird bath.
- Secure the elements with waterproof adhesive.
- Fill the dish with water and place it in your garden.
4. Magical Moss Clock

Time Stands Still in Fairy Land
Introduce a touch of timeless magic to your fairy garden with a moss-covered clock. This charming accessory creates a sense of wonder and whimsy.
DIY Tutorial:
Materials Needed:
- Small clock face or watch
- Twigs and branches
- Moss
- Hot glue gun
Steps:
- Find a small clock face or watch.
- Attach twigs and branches to form a frame around the clock.
- Cover the frame with moss, securing it with hot glue.
- Hang the clock in your fairy garden or place it against a tree.
5. Fairy Fire Pit
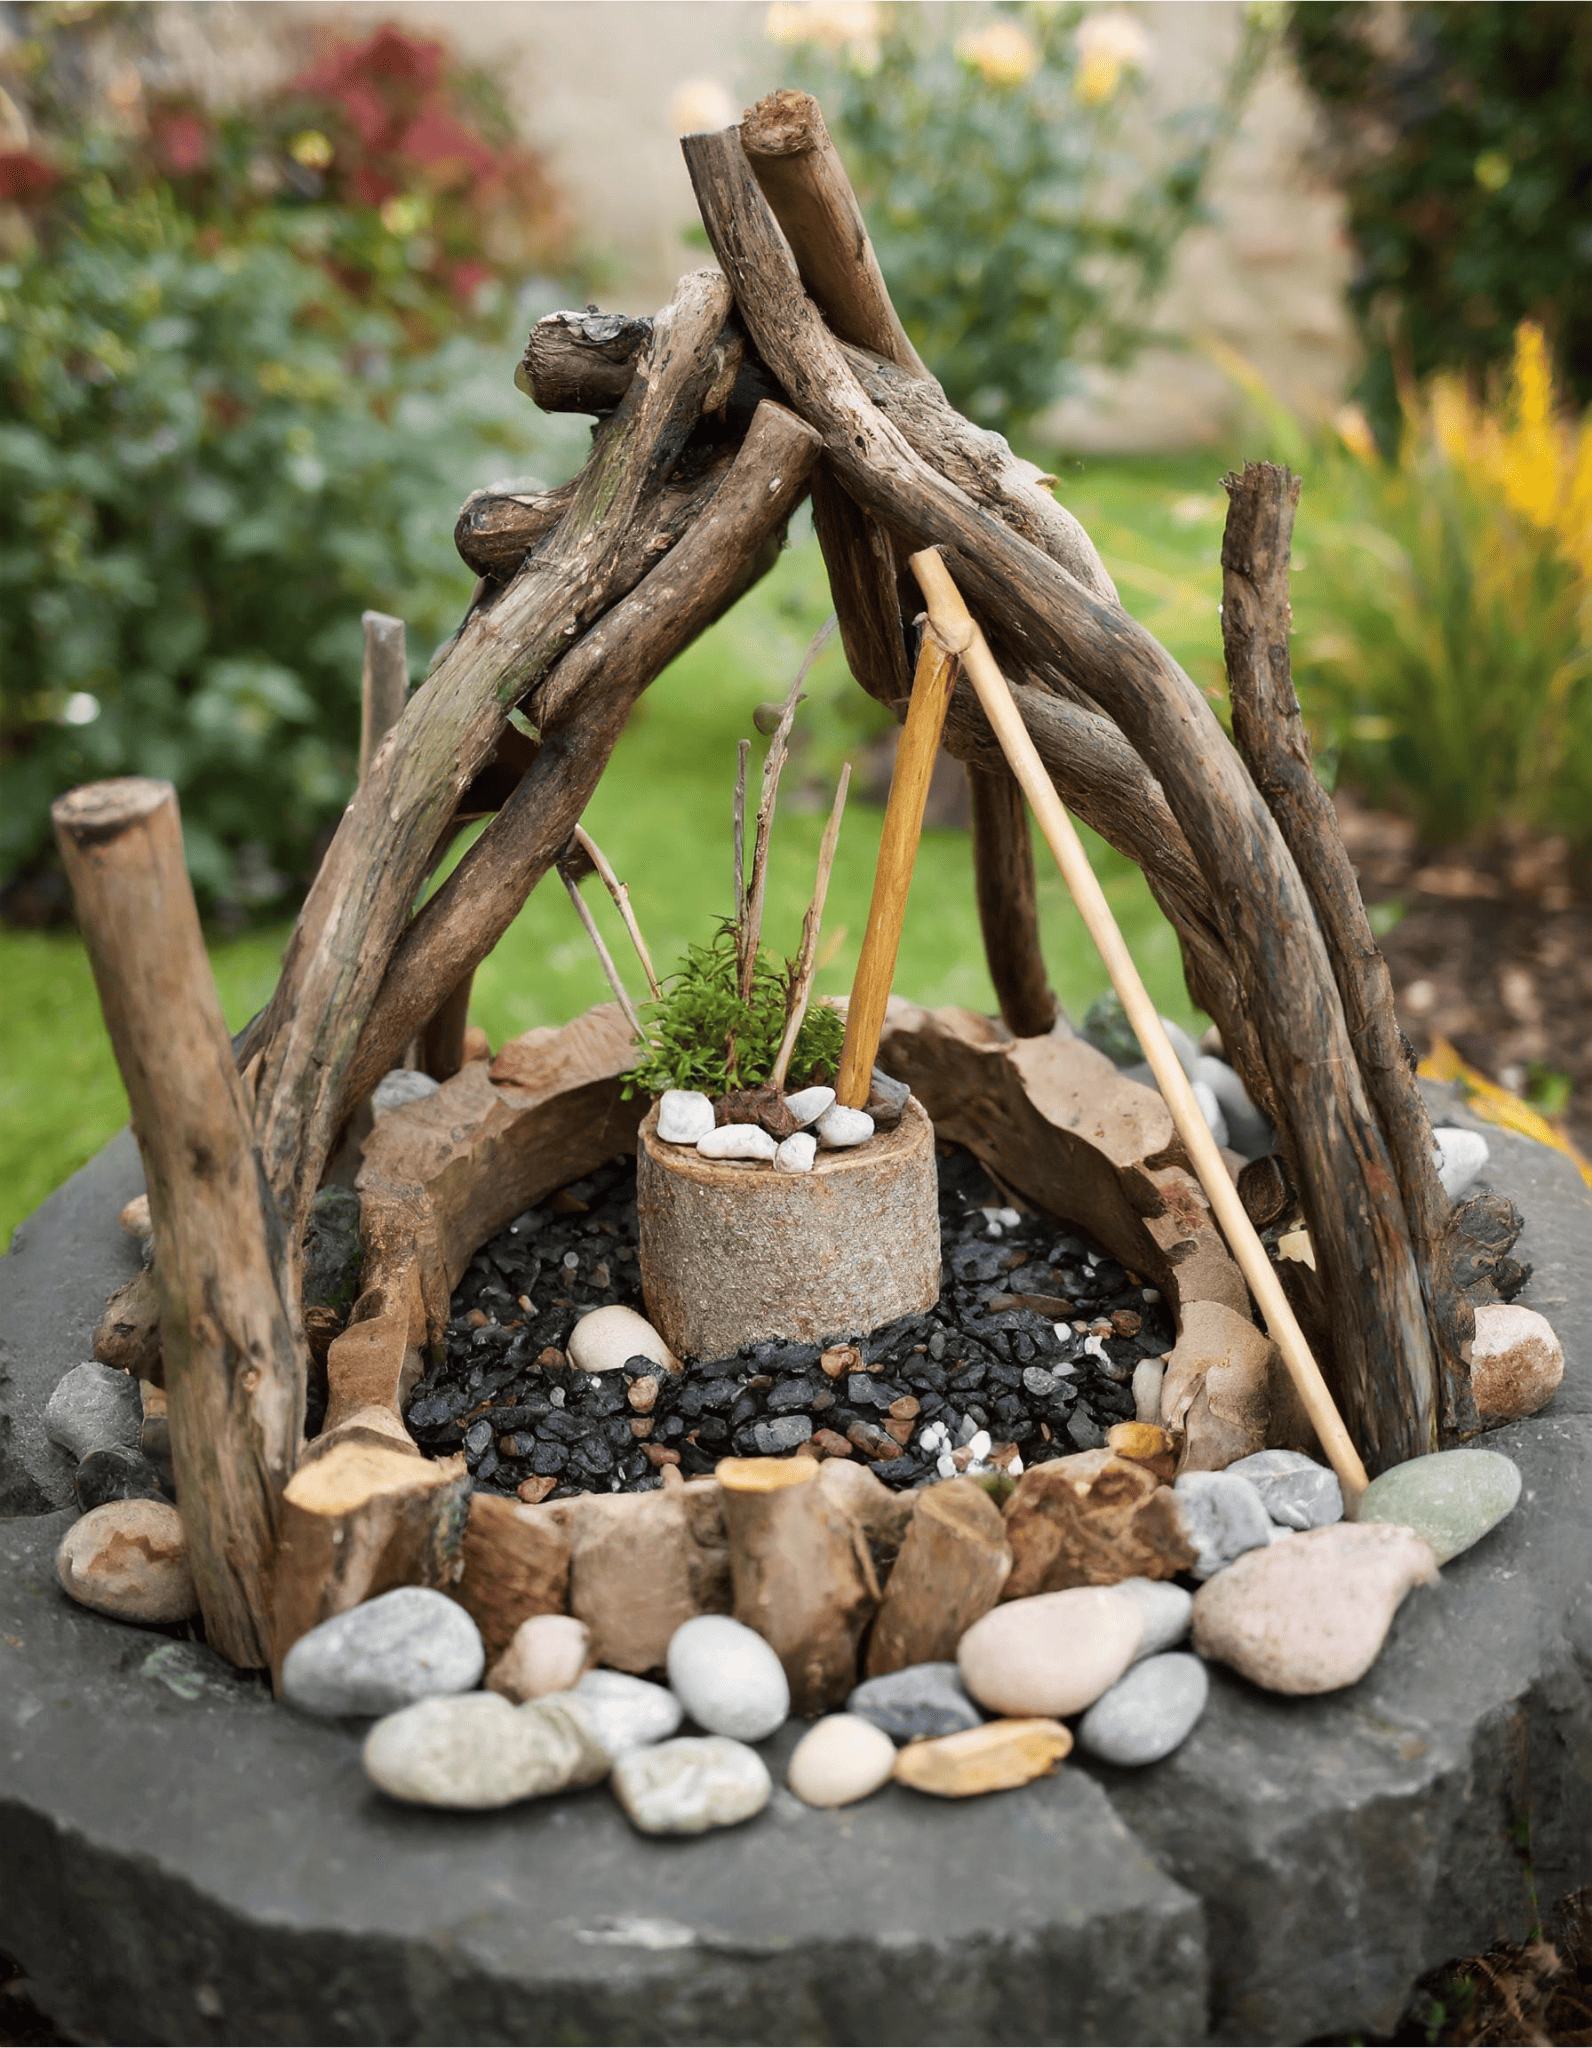
Gathering Spot for Fairies
Create a cozy gathering spot with a fairy fire pit. This feature encourages fairies to come together and share stories, adding warmth and charm to your garden.
DIY Tutorial:
Materials Needed:
- Small stones and pebbles
- Twigs
- Hot glue gun
- Small LED tea light
Steps:
- Arrange small stones and pebbles in a circle to form the fire pit base.
- Use twigs to create a teepee structure over the stones.
- Secure the structure with hot glue.
- Place a small LED tea light inside the fire pit to mimic a fire.
6. Whimsical Garden Gate
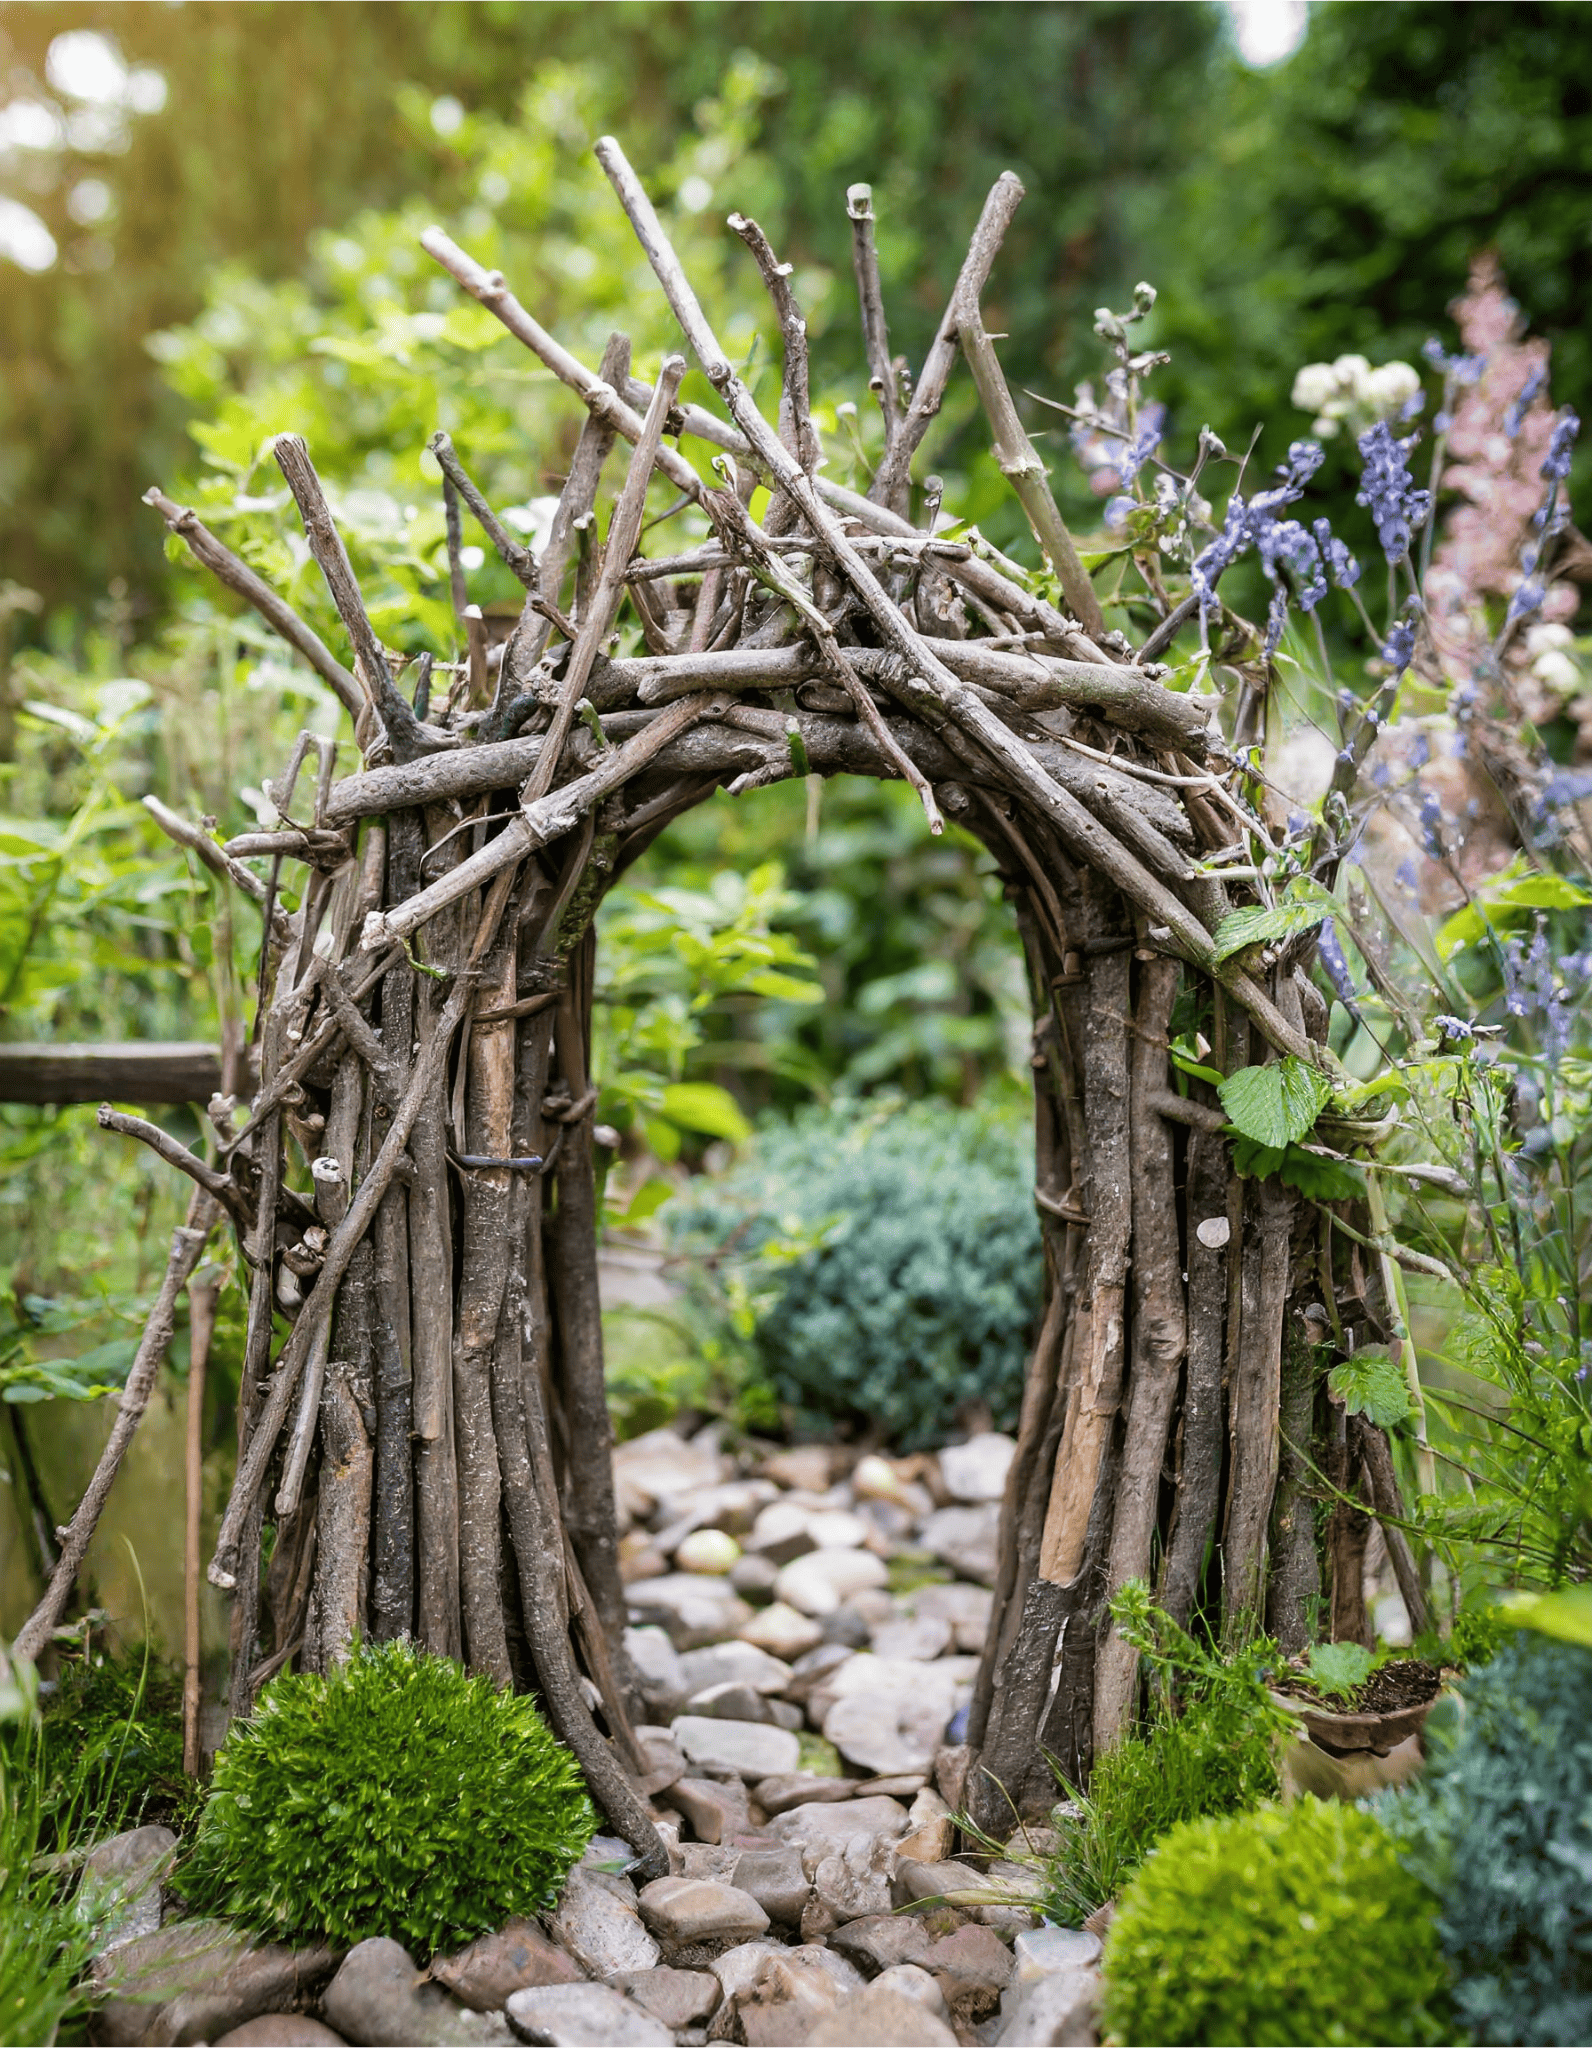
Welcome Fairies with an Inviting Entrance
Invite fairies into your garden with a whimsical garden gate. This charming entrance adds a touch of enchantment to your fairy garden, making it a welcoming space.
DIY Tutorial:
Materials Needed:
- Twigs and branches
- Hot glue gun
- Small flowers or greenery
- Pebbles
Steps:
- Gather twigs and branches to form the gate structure.
- Secure the twigs together using hot glue.
- Decorate the gate with small flowers or greenery.
- Place the gate at the entrance of your fairy garden, securing it with pebbles.
7. Fairy Ladder

Ascend to New Heights
Add a sense of adventure with a fairy ladder, perfect for fairies to reach higher places. This accessory brings an element of fun and exploration to your garden.
DIY Tutorial:
Materials Needed:
- Small twigs
- Hot glue gun
- Moss
Steps:
- Gather small twigs of equal length.
- Attach the twigs vertically to form the sides of the ladder.
- Add horizontal twigs as the steps, securing them with hot glue.
- Cover parts of the ladder with moss for a natural look.
- Place the ladder against a tree or fairy house.
8. Miniature Wishing Well

Bring Wishes to Life
Create a place for fairies to make their wishes come true with a miniature wishing well. This accessory adds a touch of magic and possibility to your fairy garden.
DIY Tutorial:
Materials Needed:
- Small wooden sticks
- Pebbles
- Small bucket or container
- String
- Hot glue gun
Steps:
- Use small wooden sticks to form the well structure.
- Arrange pebbles around the base for stability.
- Attach a small bucket or container to a string and secure it to the well.
- Decorate the well with moss or small flowers.
- Place the wishing well in your garden.
9. Fairy Tire Swing
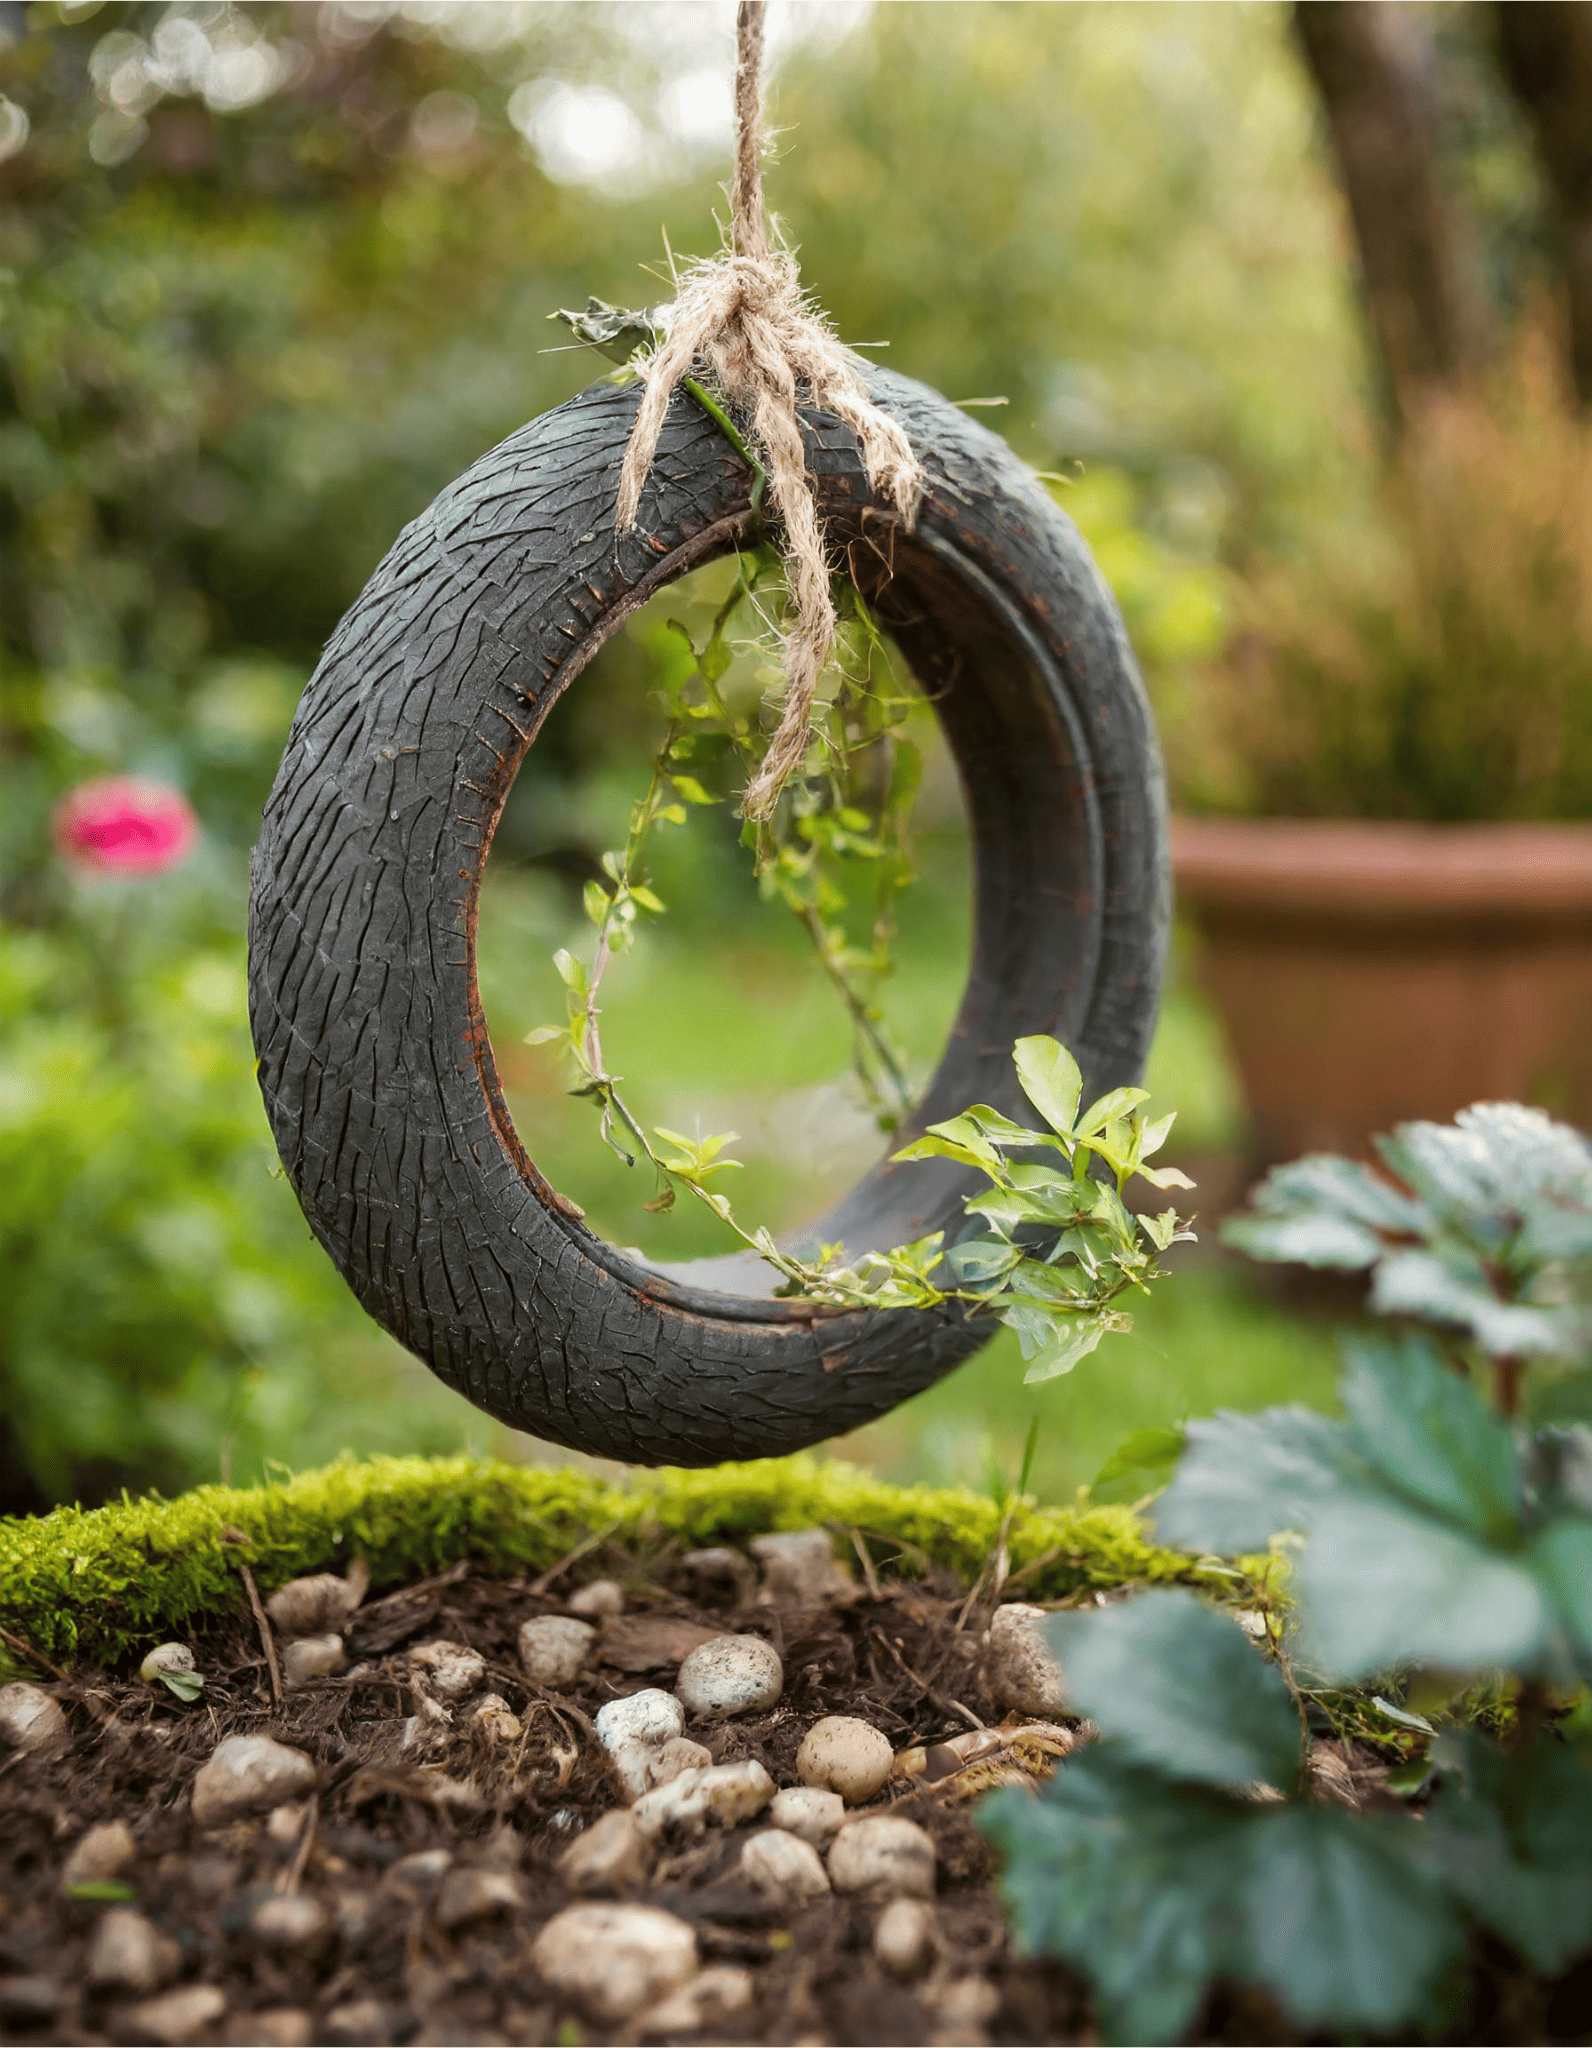
Add Playfulness to Your Garden
Incorporate a playful element with a fairy tire swing, inviting fairies to have fun. This accessory brings joy and liveliness to your fairy garden.
DIY Tutorial:
Materials Needed:
- Small rubber tire or similar object
- String or rope
- Twigs
- Hot glue gun
Steps:
- Find a small rubber tire or similar object.
- Attach string or rope to the tire to create the swing.
- Secure the swing to a sturdy branch or structure.
- Decorate the tire with twigs and moss.
- Hang the tire swing in your fairy garden.
10. Rustic Fairy Well
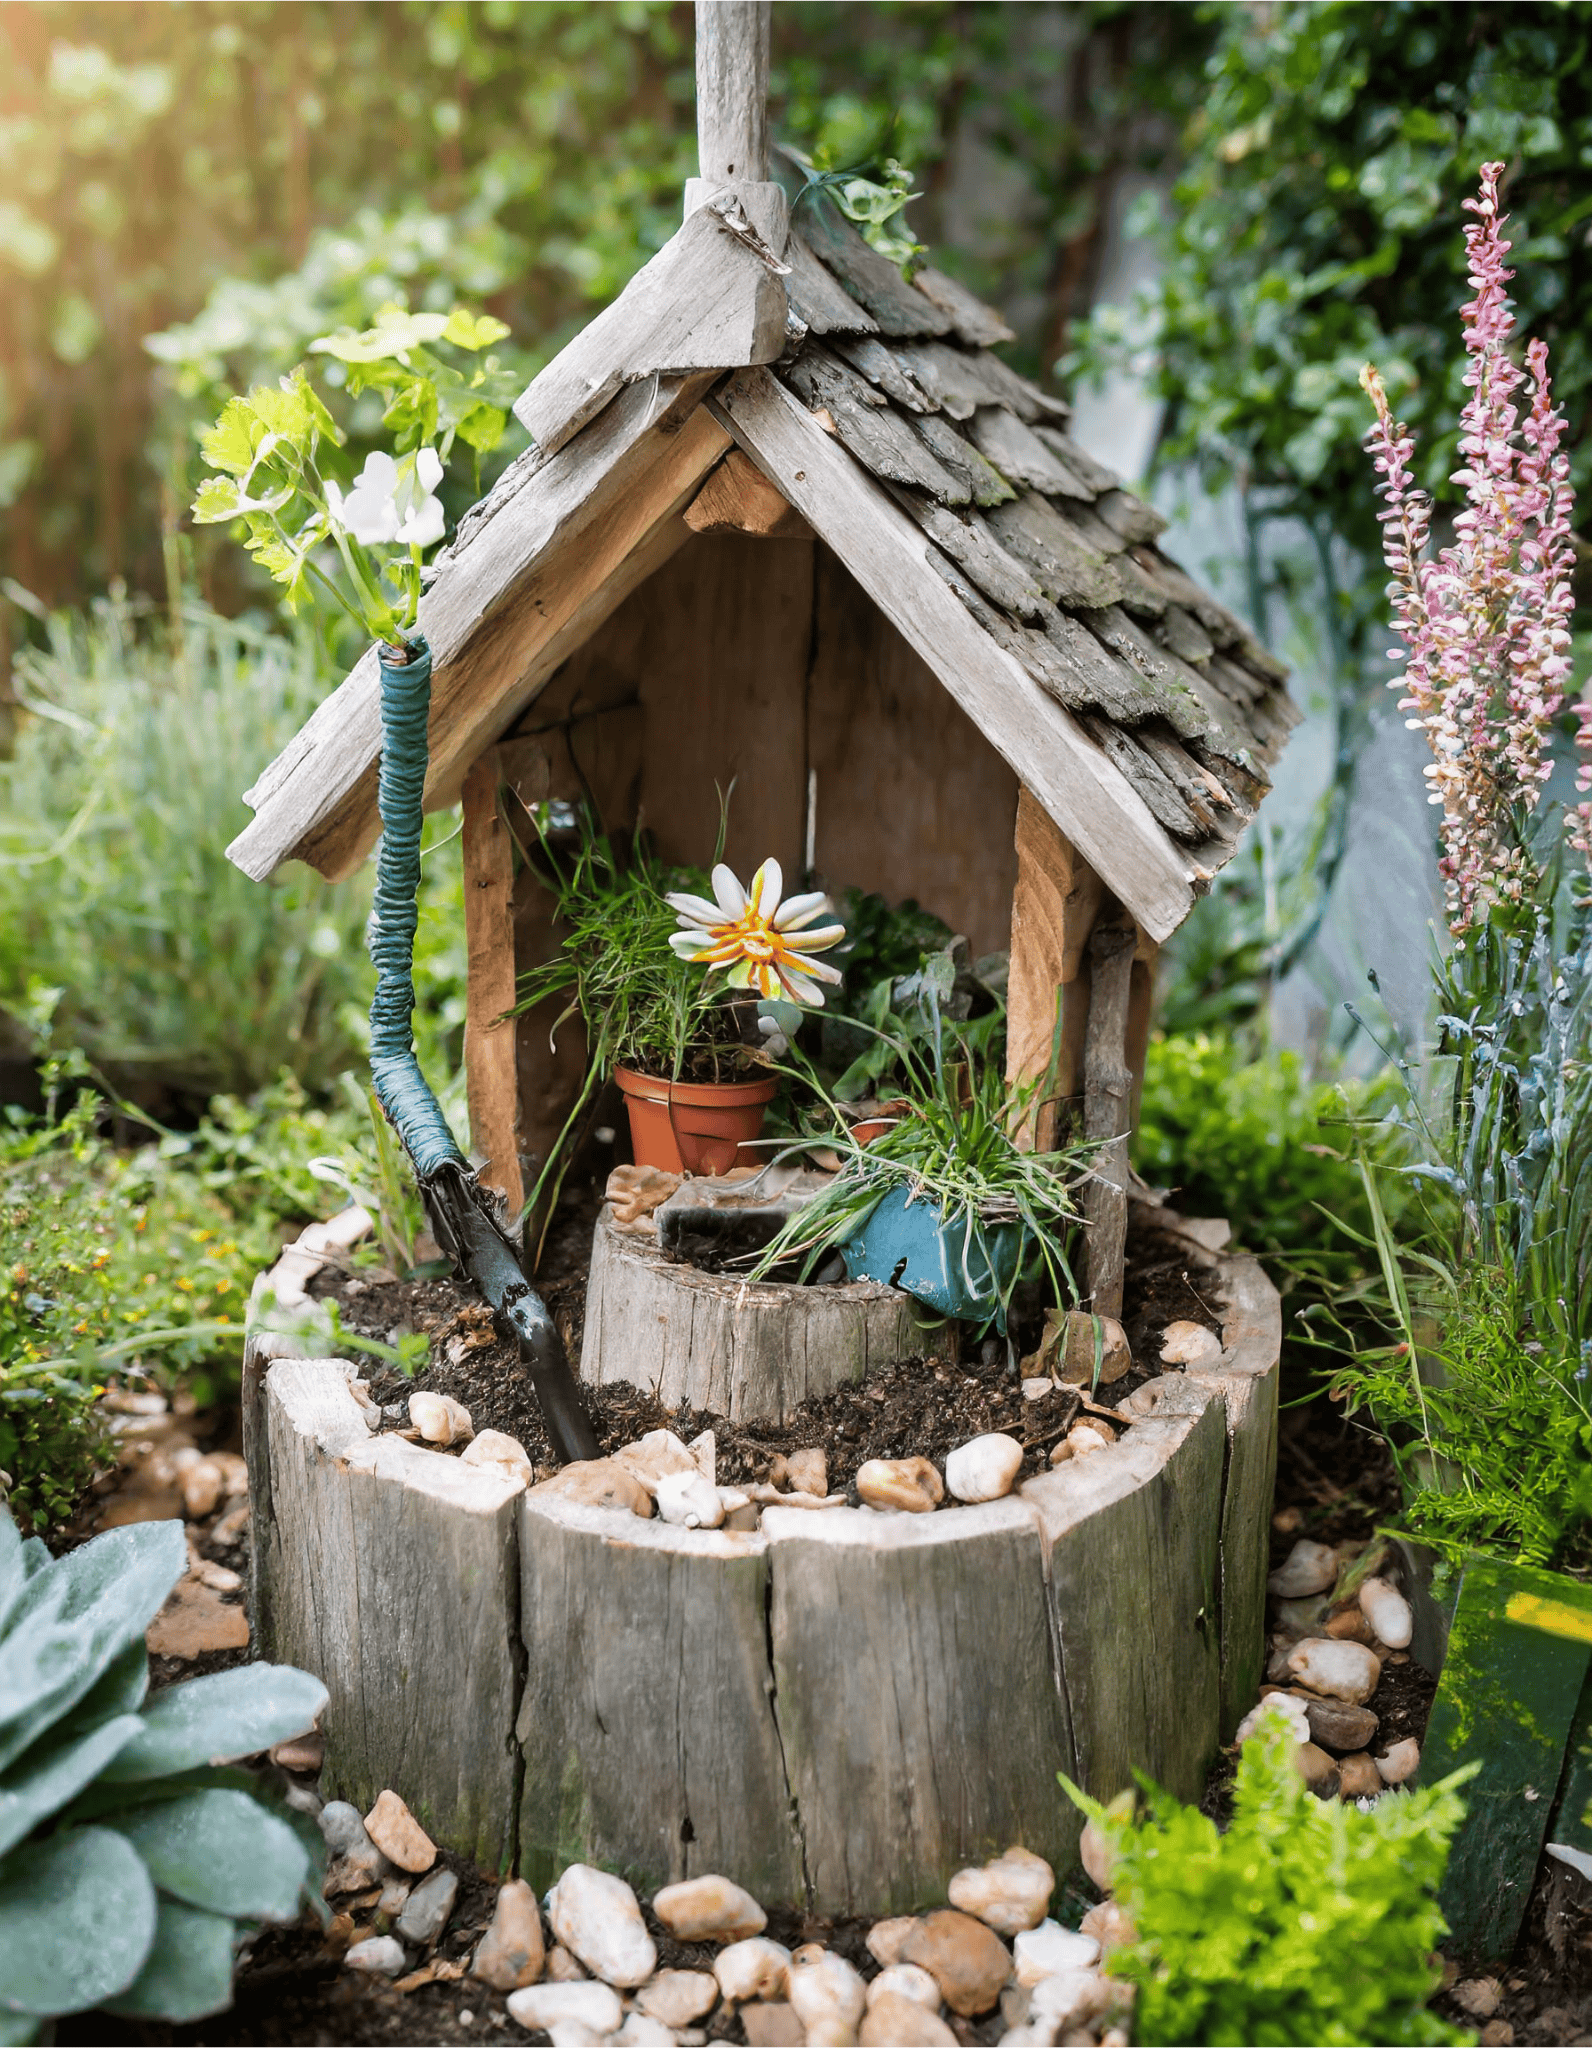
Draw Magical Waters
Enhance your fairy garden with a rustic well, a source of magical waters for the fairies. This accessory adds a touch of rustic charm and mystery.
DIY Tutorial:
Materials Needed:
- Small wooden sticks
- Pebbles
- Small container or bucket
- String
- Hot glue gun
Steps:
- Create the well structure using small wooden sticks.
- Arrange pebbles around the base for stability.
- Attach a small container or bucket to a string and secure it to the well.
- Cover parts of the well with moss for a natural look.
- Place the well in your garden, adding small flowers or greenery around it.
11. Enchanted Fairy Cottage and harvest basket
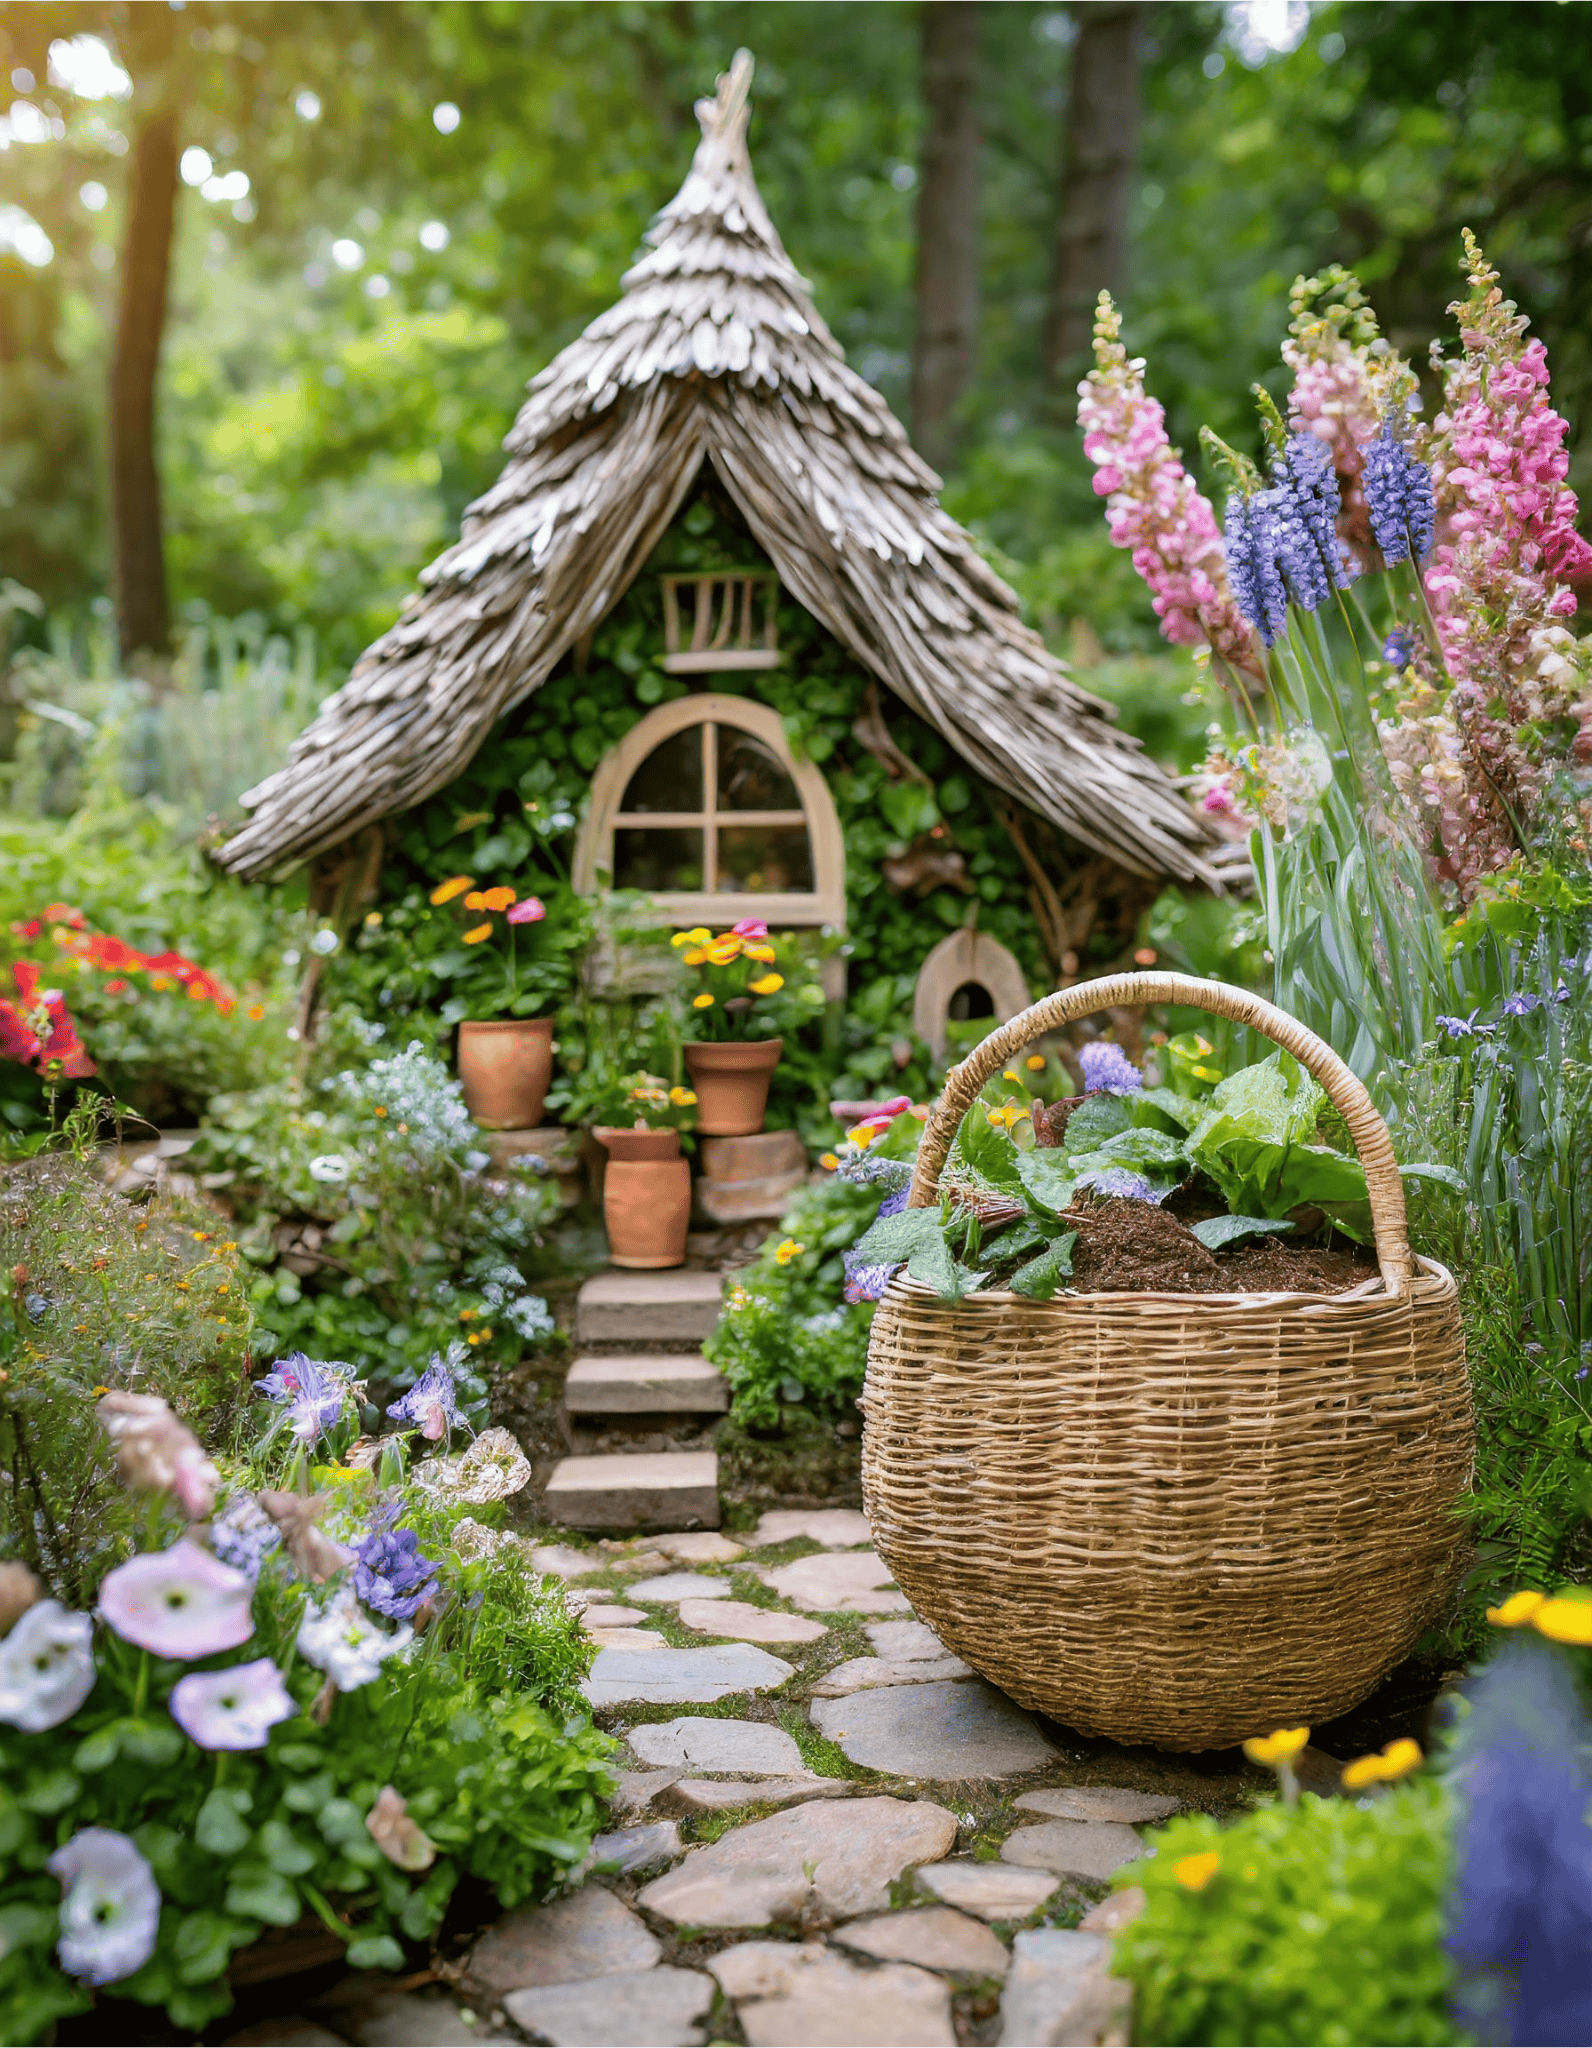
Create a Fairy Home Sweet Home
Transform your fairy garden into a cozy village with an enchanted fairy cottage. This delightful structure serves as the perfect centerpiece, inviting fairies to settle in and enjoy the beautiful surroundings.
DIY Tutorial:
Materials Needed:
- Twigs and small branches
- Hot glue gun
- Leaves and moss
- Pebbles
- Miniature windows and door (can be crafted from wood or purchased)
Steps:
- Gather twigs and small branches to form the walls and roof of the cottage.
- Use hot glue to assemble the walls, leaving space for windows and a door.
- Attach the roof by overlapping twigs to create a thatched effect.
- Decorate the cottage with leaves and moss for a natural look.
- Add miniature windows and a door, securing them with hot glue.
- Surround the cottage with pebbles to create a charming pathway.
These creative DIY projects will help you transform your fairy garden into a magical haven, inviting fairies to play, rest, and make wishes. Enjoy crafting these enchanting accessories and watching your fairy garden come to life!
Every Sign Grows Something Good

Farmacy Herb Garden Sign
Made from recycled aluminum — built to weather every season. And every sign plants a tree along the Monarch Corridor.
Get the Herb Sign
Pollinator Garden Sign
Recycled aluminum, made to last. Every sign plants a tree — because your garden is part of something bigger.
Get the Pollinator Sign


You are so talented! I love these. I’m going to try to replicate the cottage because I have the door and windows. And I’m definitely going to try to make the bed. Thank you for your work.
Thank you Peggy! I appreciate your support 🙂
Loved the little bed! Also the garden arch.
Thank you Shirley! I’m glad you liked it 🙂
I love this site!
Thank you for the kind words Anita!